Everything behind the calculators’ numbers, explained in plain language — roof geometry, pitch conversions, framing layout, the structural analysis the engineering tab runs, and application guides for the projects people actually build.
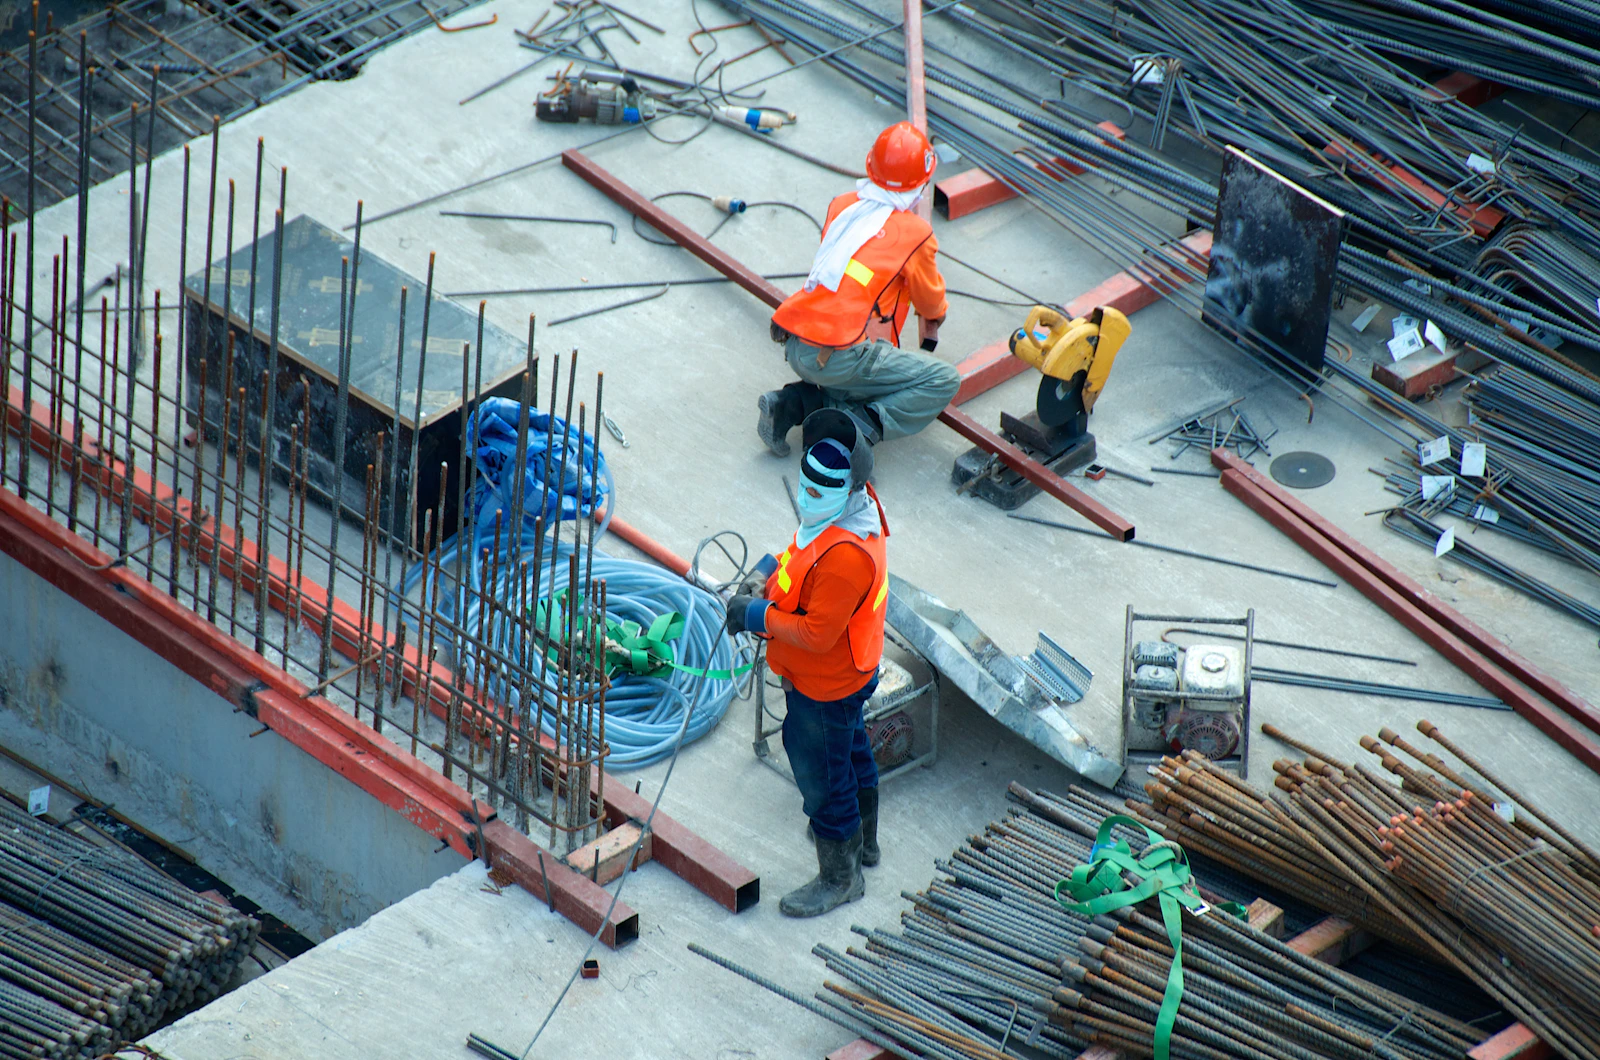
Learn the why behind every rafter lengthPhoto: Unsplash
Learn the Rules the Calculators Run On
A calculator answer you cannot explain is an answer you cannot defend — to a building inspector, a lumberyard, or yourself on a ladder with a saw. This library exists to close that gap. Every guide explains a rule the truss calculators implement, shows a worked example you can reproduce with the tool, and names the formula behind it, so the number and the reasoning arrive together.
The material is organized into six categories that mirror how roof design decisions actually happen: the fundamentals of span, run, and rise; the languages of pitch and slope; the layout and spacing math that turns one rafter into a whole roof; the structural analysis concepts behind the engineering tab; the loads and safety factors that turn forces into verdicts; and the application guides that bundle it all for sheds, additions, carports, and cabins. Read them in order for a complete education, or jump straight to the category that matches today’s problem.
Two house rules run through every guide. First, transparency: every number can be verified against the calculators and by hand, and we show our work. Second, honesty about boundaries: the guides teach planning and understanding, and licensed engineers, certified truss manufacturers, and your building department own the final call — the difference matters, and we say exactly where it lies.
Twenty guides read in random order is a reference; read in the right order they are a course. Pick the track that matches your situation — each path lists its stops in sequence and the calculator habit to build along the way.
🌱 Track 1 — First Roof
You are framing your first shed or workshop roof. Start with the three Geometry Fundamentals guides, then the pitch conversion pair, then the Gable Shed application guide. Calculator habit: reproduce every worked example in the Simple Geometric tab before relying on it.
6 guides · ~30 minutes · no prerequisites
🧾 Track 2 — Accurate Material Orders
Your goal is a lumber order that arrives complete. Read the whole Framing Layout & Spacing category, add the pitch-factor guide, and finish with the cost-estimation article. Calculator habit: enter spacing and prices exactly as you buy — no rounding in your favor.
5 guides · ~25 minutes · basic geometry assumed
⚖️ Track 3 — Engineering Refresher
You want to understand (or re-learn) the structural side. Work through all four Structural Analysis topics, then Loads & Safety Factors, verifying each concept in the Analysis tab. Calculator habit: solve a small preset by hand first, then let the solver confirm your joint equations.
7 guides · ~40 minutes · patience for matrices
Anatomy of a Truss — Where Every Rule Lives
Almost every truss question maps onto five parts between the walls and the ridge. Keep this map in mind and the guides below attach to places instead of floating as trivia.
① Top Chords
The sloping rafters from wall plate to ridge. In gravity load they work in compression, which is why buckling — not crushing — usually governs their size, and why purlin spacing matters as much as the member itself.
② Bottom Chord
The horizontal tie that resists the outward thrust of the top chords. Working in tension under normal loading, it holds the walls from spreading — and becomes a loaded floor member the moment someone builds a loft on it.
③ Web Members
The diagonals and verticals that divide the long chords into short, efficient segments. Their pattern (King Post, Fink, Pratt, Howe) is the truss's signature, and each web works in pure tension or compression under the pin-joint idealization.
④ Joints & Gussets
Where members meet. Analysis treats them as frictionless pins — no bending — but real joints are plywood, steel plates, or toothed connectors designed separately. Joint design is professional work the calculator deliberately leaves out.
⑤ Supports & Spacing
Walls, beams, and posts carry the reactions the solver reports, and the on-center spacing multiplies one truss into a whole roof. A 2,000-lb reaction at 24-inch O.C. is a very different wall conversation than at 8 feet.
The Guide Library, by Category
Six categories, twenty explainers, zero filler. Each article is short enough to read on a phone in the lumber aisle and complete enough to act on.
📐Roof Geometry Fundamentals
Start here if roof math feels like a foreign language. These explainers define the vocabulary every truss calculation is built on — span, run, rise, pitch, and rake — and show how the simple geometric calculator turns a building width and a slope choice into the exact lengths you need to order and cut.
Span, Run, Rise, and Rise-per-Foot — the Four Numbers That Rule a Roof
Every gable roof answer comes from four numbers. The span is the total building width wall to wall. The run is half of it — the horizontal distance from wall plate to ridge. The rise is how far the ridge climbs above the wall over that run. Pitch is expressed as rise per foot of run: a 6/12 roof climbs 6 inches for every 12 inches traveled horizontally. Confusing span with run is the single most common input error, and it doubles every length in the answer. The calculator asks for total span and pitch separately precisely so you never have to do the halving yourself — but understanding why the half-span matters makes every downstream number verifiable by hand.
The Pythagorean Theorem Is the Whole Engine
A common rafter is nothing more than the hypotenuse of a right triangle whose legs are the run and the rise. Square the run, square the rise, add them, take the square root, and you have the rafter length from wall plate to ridge — with no chart and no app. Worked example: a 24-foot building with a 6/12 pitch has a 12-foot run and a 6-foot rise, so the half-rafter is √(144 + 36) = √180 ≈ 13.42 feet. The calculator runs this same arithmetic per side, adds overhangs as separate triangles hanging past the wall, and reports each piece to the sixteenth of an inch. Once you can reproduce one example on paper, every result becomes a checklist item instead of a mystery.
Rake Length, Overhang, and Why They Are Separate Numbers
The rake is the rafter tail that overhangs the gable wall — the part you see from the street. It is calculated as its own right triangle: horizontal projection times the slope multiplier, plus any lookout extension. Keeping overhang math separate from rafter math matters for three reasons. First, overhangs are often a design choice (12, 16, 24 inches) while the roof plane is fixed by the building. Second, fascia and soffit material estimates depend almost entirely on the overhang, not the main roof. Third, cutting the main rafter and the tail from one stick versus two changes your lumber order. The calculator reports rake length, overhang length, and total rafter length as distinct figures for exactly these reasons.
📏Pitch, Slope & Angle Conversions
Pitch is the dialect of roofers; degrees are the dialect of engineers. These guides translate between them, explain the pitch factor that multiplies every plan-area number into a true roof-area number, and help you choose a slope that suits your climate and material.
X/12 Pitch, Degrees, and Percent — Three Languages, One Slope
The same slope can be written three ways: 6/12 pitch (6 inches of rise per 12 of run), 26.57 degrees (arctan of 0.5), and 50 percent grade. Roofers quote X/12, plans and truss drawings often show degrees, and site drainage conversations use percent. The conversions are one formula each: degrees = arctan(rise ÷ 12), and pitch = 12 × tan(degrees). The calculator accepts either form and converts internally, displaying both so a framer reading the output and an engineer checking it are never talking past each other. If you ever need to sanity-check a truss drawing, arctan on a phone plus the printed pitch will catch a transcription error in seconds.
The Pitch Factor — the Multiplier Behind Every Roof-Area Estimate
A floor is flat, so its area is width times length. A roof is sloped, so its area is the plan area times a pitch factor (also called the slope multiplier): √(rise² + 12²) ÷ 12. At 4/12 the factor is about 1.054 — the roof is only 5% bigger than its footprint. At 12/12 it is 1.414, and at 18/12 it is 1.803, meaning the roof covers nearly twice the plan area. Forgetting this factor is the classic DIY shingle-shortage mistake: ordering for the footprint on a steep roof leaves you a third of a bundle-count short. The calculator applies the factor automatically when estimating sheathing and coverage, and shows the multiplier it used so you can verify it against any published chart.
Choosing a Pitch: Climate, Material, and Attic Space
Pitch is a design decision with three masters. Climate comes first: wet and snowy regions favor steeper roofs (8/12 and up) that shed water and load, while arid regions commonly use 3/12 to 5/12. Material comes second — most shingle warranties demand at least 2/12 and often 4/12, while standing-seam metal happily works at 1/12 or lower. Space comes third: a steeper roof grows usable attic volume without growing the building. What pitch is not is an aesthetic free-for-all with your rafter lengths — every step up in pitch stretches both rafters and every purlin run, which the calculator will show you instantly if you toggle the slope between 4/12 and 8/12 on the same building.
🏗️Framing Layout & Spacing
Knowing one rafter length is knowing one rafter. Building a roof means repeating it across the building at a chosen spacing, and every piece between the rafters — purlins, sheathing, fascia — is a count, not a length. These guides cover the layout math the calculator runs after the geometry.
On-Center Spacing and the Fencepost Count
Framing members are laid out on-center (O.C.) — typically 16 or 24 inches — and the count follows the fencepost rule: a 24-foot building at 24-inch O.C. needs not 12 but 13 rafter positions, because spaces and members are counted differently. The calculator applies the classic ceil(span ÷ spacing) + 1 formula, then halves or doubles it depending on whether you are counting rafter pairs or total members. Getting this wrong in the generous direction wastes lumber; getting it wrong the other way means a mid-job supply run. Enter spacing exactly as you will lay it out — if your plan says 24 inches but you know your tape and plates will drift to 24 1/4, use the honest number for material counts.
Purlins, Blocking, and the Pieces Between the Rafters
Between the rafters live the members nobody photographs: purlins (or struts) that brace the rafter plane, blocking that keeps each rafter vertical, and collar ties or ridge boards that tie the pair together. Purlin count follows the same fencepost logic run up the rafter length instead of across the span — the calculator divides the rafter length by the purlin spacing you enter and reports the count per side. Blocking and tie counts derive from the rafter-pair count directly. Estimating these from the main geometry rather than guessing is where the calculator saves real money: on a 40-foot building, one skipped purlin row is a dozen boards and a return trip to the yard.
From Counts to Cost: Estimating the Whole Roof Package
The final outputs of a framing estimate are counts times prices. The calculator multiplies rafter, purlin, and fascia counts by their unit prices and by the price per sheet for sheathing, then sums them into a package total. Three habits make the number trustworthy. First, price the actual grade and species you will buy — the calculator's price fields accept your local numbers, not a national average. Second, include waste honestly: 10% on straight members and 15% on sheathing is normal practice, and the cost fields are where that margin belongs. Third, treat the total as a materials floor, not a quote — delivery, hardware, fasteners, and labor live outside it, and the calculator says so rather than pretending otherwise.
⚖️Structural Analysis Topics
Tab 2 of this site runs a real structural solver, not a lookup chart. These guides explain the engineering concepts it implements — determinacy, tension versus compression, the method of joints, and the direct stiffness method — in plain language with worked numbers.
The Determinacy Check: m + r = 2j
Before any truss can be solved, it must pass one test: the number of members plus the number of support reactions must equal twice the number of joints. A Pratt truss with 17 members, 3 reaction components, and 10 joints gives 17 + 3 = 20 = 2 × 10 — determinate, solvable by statics alone. Fewer members or supports means unstable (the truss is a mechanism and will collapse); more means indeterminate (solvable, but only by using member stiffnesses). The structural calculator checks this automatically for every preset and for any custom configuration you draw, and reports the equation right above the results so you know which solving path was taken before you read a single force.
Tension, Compression, and Why Members Fail Differently
Every truss member works in exactly one of two ways. Tension members are stretched — a 2,000-lb tension force in a 2×4 that has 8.75 square inches of wood is about 229 psi, far below allowable stress, which is why long thin tension members are common. Compression members can buckle long before the material itself crushes: the same 2×4 holding 2,000 lb in compression may be at risk at a fraction of that if it is long and unbraced, because slenderness, not strength, governs. This asymmetry is why the calculator colors tension and compression differently on the diagram and reports forces per member — reading which chord is in compression on which load case is the first step in any real review of a truss design.
Method of Joints — the Hand Calculation Behind the Software
The method of joints is the transparent version of what the solver does: at each joint, the forces in the meeting members must sum to zero horizontally and vertically, giving two equations per joint. Start at a support where only two members meet, solve both, mark the members tension or compression, and walk joint by joint across the truss. A 10-joint truss is twenty equations — tedious by hand, instant in software, and illuminating either way. If you want to verify the calculator, solve a small King Post yourself: two rafters, one bottom chord, one vertical web, and you will find the bottom chord in tension, the rafters in compression, and the web's force equal to the load applied at the ridge — exactly the signs and magnitudes the tool reports.
The Direct Stiffness Method in Plain Language
Indeterminate trusses, uneven supports, and custom geometry all fall to the direct stiffness method — the same matrix procedure commercial FEA packages run. Each member contributes a 4×4 stiffness matrix from its length and axial stiffness (EA/L); these are assembled into one global system, supports are enforced, and the equations K·d = F are solved for joint displacements. Member forces then follow from the displacement differences across each member. The payoff is generality: the calculator does not care whether your truss is determinate, has three supports, or mixes member sizes — it assembles the stiffness of what you drew and solves it. The cost is that results inherit your inputs' quality, which is why load placement and support conditions deserve a second look before trusting the force table.
🧱Loads, Materials & Safety Factors
A solver is honest arithmetic about the loads you give it. These guides cover where real roof loads come from, how allowable stress and safety factors turn member forces into pass-or-fail answers, and which decisions always belong to a licensed engineer.
Where Roof Loads Actually Come From
Real roofs carry stacked loads: dead load (the weight of framing and sheathing, commonly 10–15 psf), live load (maintenance and transient use, often 20 psf on residential roofs), snow load (mapped by region, from near zero in the Gulf South to 50+ psf in mountain towns), and wind (uplift as well as pressure, worst at edges and corners). Each has a different character — dead load is always there, snow drifts unevenly, wind reverses direction. The structural calculator applies whatever point and distributed loads you enter, so a meaningful analysis starts with the numbers from your local building department or the IRC/ASCE 7 tables for your snow and wind zones, not a generic figure picked from memory.
Allowable Stress and Safety Factors — Turning Forces into Verdicts
A member force is a fact; a pass or fail is a judgment. The bridge between them is allowable stress design: divide the material's ultimate strength by a safety factor (wood commonly works near 1,200–1,800 psi allowable against 4,000–8,000 psi ultimate, with reductions for duration of load, wet service, and size), then compare the actual stress the solver reports. When the calculator has section properties for a member, it shows the stress ratio — actual over allowable — so 0.85 means 85% used and anything above 1.00 fails. Reading ratios instead of raw forces is the professional habit: ratios make comparisons between members and load cases instant, and they make margin visible rather than buried in units.
What a Web Calculator Cannot Do — the Honest Boundary
No browser tool should stamp a drawing. Connection design (gusset plates, nails, bolts, toothed plates), member grading and species selection, bracing and blocking for buckling, bearing at supports, creep and vibration, and the load combinations and local amendments of your building code are engineering and inspection work. This site's structural tool solves idealized pin-jointed trusses — exactly the model taught in classrooms, but not the whole of a real roof. Use it to explore, learn, pre-size, and sanity-check quotes; then take the geometry and loads to a licensed engineer or a certified truss manufacturer, whose seal is what your permit office actually wants to see.
🏠Application Guides
Real projects bundle every concept above into one lumber order. These application guides walk the most common builds — gable sheds, additions, carports, and cabin shells — with the exact inputs to enter and the traps to avoid.
Gable Shed or Small Workshop Roof
The classic first build: a 10×12 or 12×16 shed with a symmetric gable. Enter the building width as span, choose 4/12 to 6/12 pitch for shingles or 2/12 minimum for metal, and add a 6-inch overhang for weather protection. At 16-inch O.C. rafter spacing a 12-foot span needs nine rafter positions per side — the calculator will confirm the count and total lengths including tails. Common trap: forgetting that the ridge board runs the building length, so your lumber order needs one extra board per foot of building length beyond the rafters themselves. Run the tab's cost estimate with your yard's actual prices and add 10% before you commit to a shopping list.
Room Addition & Smoothing Into an Existing Roof
Tying a new gable into an existing house roof is where pitch arithmetic earns its keep. The new roof's pitch is usually forced to match the old — measure it, do not guess: hold a 12-inch level on the existing plane and read the rise. Enter the addition width and the measured pitch, and pay close attention to the height outputs: the new ridge must land at a height that meets the existing roof plane, and the calculator's rise figure tells you instantly whether that is geometrically possible at your span or whether a different pitch or a valley tie-in is needed. The most expensive mistake in addition framing is discovering a ridge-height conflict after the plates are bolted down; it is a five-second check here.
Carports, Porch Roofs & Low-Slope Builds
Shallow-pitch structures invert several instincts. At 2/12 or less, the pitch factor is barely above 1.0, so area and sheathing estimates approach the footprint — but material rules tighten: shingle manufacturers commonly exclude below 2/12 and require special underlayment below 4/12, while standing-seam metal and rolled roofing handle shallow slopes cleanly. Structurally, low pitches put much higher loads into the bottom chord and connections, which the structural tab will show if you compare the same span at 2/12 and 6/12 with equal loads. Enter the true tributary width as the load width, model the posts as supports, and let the member-force table tell you whether the carried beam is the real story of the design.
Cabin & Tiny-Home Roof Packages
Small buildings are the friendliest place to put the whole workflow together. Typical flow: geometric tab for the rafter, purlin, and sheathing counts at your chosen pitch and spacing; cost fields priced from your local yard; then a structural check of a typical truss — King Post or Fink preset at your span — under your region's snow load to see whether the members you planned are comfortable or working hard. Two tiny-home specifics: lofts mean the bottom chord carries real load, so model it rather than assuming the classic negligible figure; and transport constraints (if the structure moves) add lateral loads no static roof calculator models — that check belongs with a professional, and the tool's outputs are the starting conversation, not the seal.
✍️Read, calculate, cut — in that order
Read, calculate, cut — in that orderPhoto: Unsplash
Pair Every Guide with the Calculators
The fastest way to learn roof math is to break the examples. Open a calculator beside any guide, enter the worked example’s inputs, get the same result — then change one variable at a time and watch which output moves first. Steepen the pitch and watch the rafter and the pitch factor grow. Widen the spacing and watch the member count drop. Add a longer overhang and watch the rake and fascia numbers climb.
That single habit — one variable at a time — teaches more in ten minutes than a week of chart-reading, because it builds the intuition the tables only summarize.
Are these guides a replacement for an engineer's review?▼
No — they explain the geometry and the structural concepts the calculators implement, with worked examples you can verify by hand. Real trusses must be sized, connected, and sealed by a licensed engineer or a certified truss manufacturer for your actual loads, spans, and code jurisdiction. The guides get you to that conversation understanding the numbers; they do not replace the seal.
In what order should I read the guides?▼
If you are new, read the Geometry Fundamentals category top to bottom, then Pitch Conversions, then the application guide matching your project. If you came with a specific question — a pitch conversion, a material count, why a member failed — jump straight to that category; every guide stands on its own and links back to the calculators for the numbers.
Which calculator do the guides refer to?▼
Both. Geometry, spacing, and cost guides mirror the Simple Geometric tab; the structural topics — determinacy, tension versus compression, the stiffness method, load paths — mirror the Structural Analysis tab. Each guide names which tool reproduces its examples, and every worked number can be re-entered into the calculator to verify.
Do the guides use imperial or metric units?▼
The worked examples are written in imperial (feet, inches, psf) because that is the dominant framing convention in the US, where X/12 pitch and 16/24-inch on-center spacing are the standard vocabulary. The calculators themselves support metric throughout, so you can reproduce any example in millimeters and newtons if you prefer — the math is identical.
How do I check a guide's numbers myself?▼
Every worked example uses the same formulas the calculators run. Open the matching tab, enter the example's inputs exactly, and you will reproduce the example's result — that reproducibility is deliberate. For the geometry guides, the Pythagorean theorem and a phone calculator are enough; for the structural guides, the reported reactions always satisfy equilibrium, which is the quickest global check.
Can I request a guide topic?▼
Yes — send it via the contact page under feature requests. Topics that appear repeatedly in support questions get written first, and correction reports on existing guides are treated as high-priority fixes.
Ready to Put the Knowledge to Work?
Pick the guide that matches your project, absorb the rule it teaches, then prove it to yourself in the calculators with your real numbers. When the reasoning and the result agree, you are ready to order lumber with confidence — and to have a much better conversation with your framer, truss supplier, or inspector.
Missing a topic? The library grows from the questions we receive, so send yours through the contact page. And when you just need the number right now, the calculators hub is one click away with the same formulas these guides explain.